
‘Tis the season for advent calendars! In just a couple days you should be starting your advent calendar, so it’s time to scramble and put one together ASAP. Lucky for you, we’ve got a simple way to do just that and it doubles as decor.

Materials:
- 25 little boxes
- Wrapping paper
- Tissue paper
- Ribbons, pom pom, trim, gift toppers, etc.
- VELCRO® Brand Stick On Coins
- VELCRO® Brand ONE-WRAP Reusable Ties
- Gift tags
How to Make a DIY Advent Calendar Tree
1. Stock up on a bunch of little gift boxes. They should all be the same size. In this photo, you’ll also see a Cricut, which we used to cut out numbers for gift tags. You can also use readymade vinyl numbers.

2. Fill your boxes with gifts.
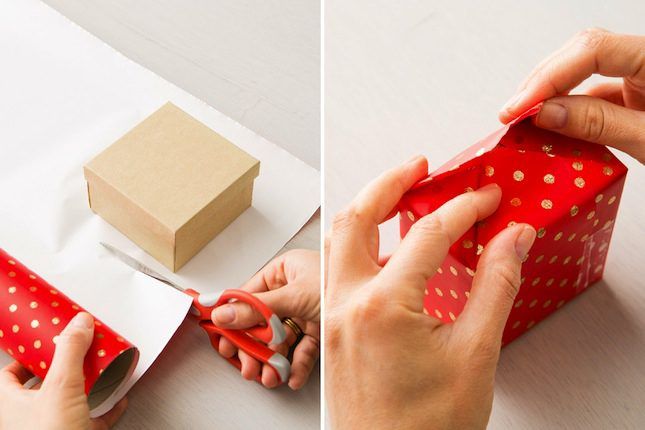
3. Wrap up all your boxes.

4. Then add ribbon, trim, pom-poms, and more.

5. Repeat with all 25 boxes.
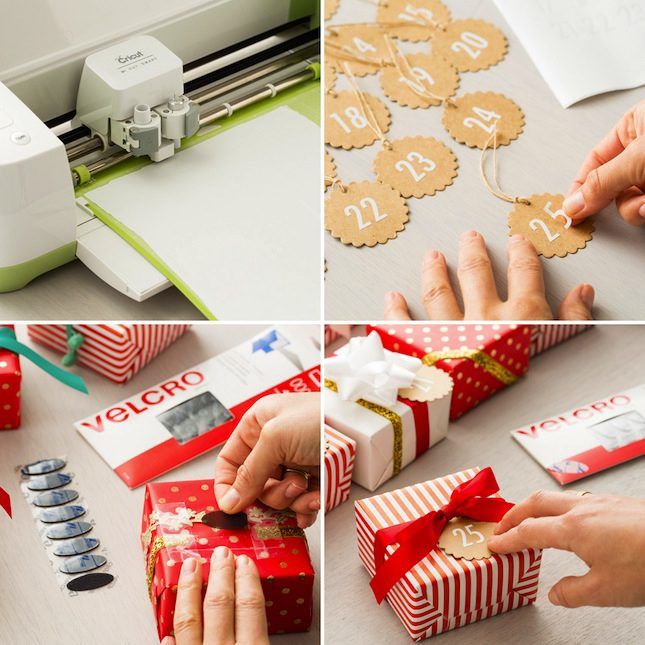
6. Use a Cricut to cut out numbers on sticky vinyl. Attach numbers to gift tags. Then, attach VELCRO® Brand Stick On Coins to the back of each gift. Top each gift with a gift tag.

7. Lay out your tree on a table. Measure out how much VELCRO® Brand ONE-WRAP® Tie you need for each row and make your cuts.

8. Use thumbtacks (or nails) to attach strips of VELCRO® Brand ONE-WRAP® Ties to the wall. Then attach your gifts! simple as that.

Doesn’t that look festive and gorgeous? We want to open all the gifts right now?!